How I Mounted the Indexer... for now...
(a work in progress)
While I think some future modifications are likely, this is my current favorite way of mounting the indexer to a 48" PRS-Standard ShopBot. It is positioned parallel to the
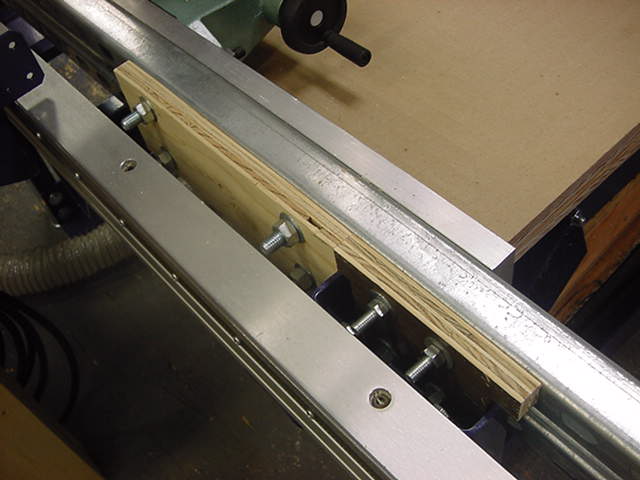
X-axis, nearest the front edge of the table and can be removed when not in use by loosening eight bolts. I anticipate future modifications to make detachment simpler. An earlier version had just two bolts with wing nuts, but I wasn't able to employ that in this variation.
The extruded aluminum tracks provided with the indexer have been mounted to a pair of Unistrut channels using standard hardware. The center of rotation is about 3" above the surface of the table.

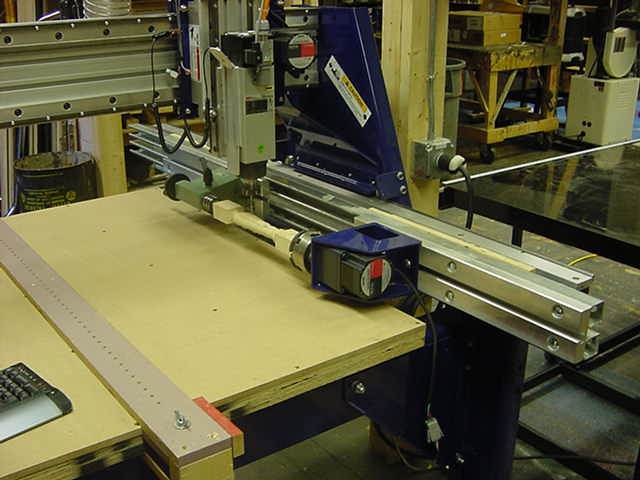
The Unistrut tracks are approximately the same length as the ShopBot's extruded aluminum rails and the indexer can be positioned anywhere along them. Cutting is possible anywhere along the full span of the X-axis.
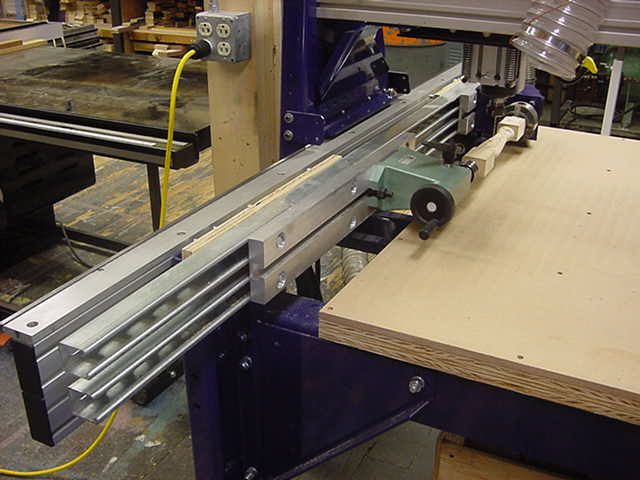
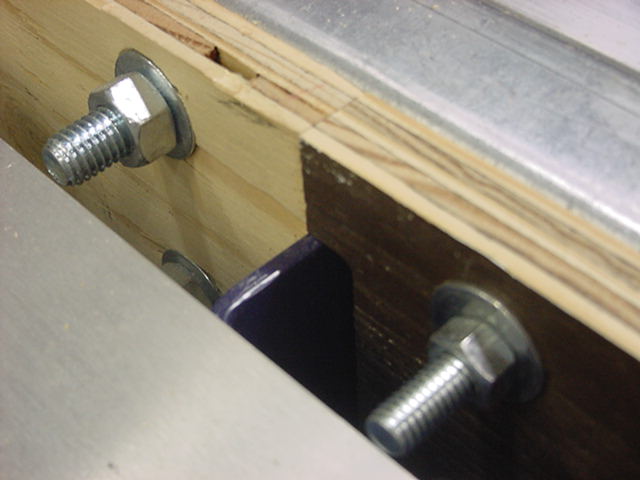
The Unistrut tracks are mounted to the ShopBot legs using a pair of 3/4" plywood plates at either end. The unpainted one in this photo is kept tightened and holds the tracks in alignment when the rig is removed from the ShopBot. The plate with the painted face is tightened when the indexer is mounted for use.
The brown clamping plate is "tee-shaped" so that the indexer always drops into the same position and to prevent any slipping during use. It also has rabbets (on the opposite side, but not visible here) to accomodate the flanged portion of the ShopBot's legs. When tightened, this allows the mounting plate to press flush against the back side of the Unistrut, with the leg flanges sandwiched in between.
Another view, taken near the work piece.
One of two end views.

You guessed it...
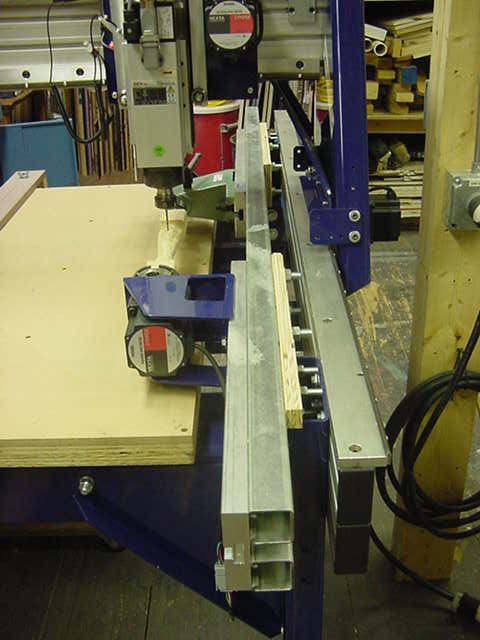
The other photo of the same end.

(Guess I got a little trigger happy...)


All photos and text are courtesy of John D. Ervin